Week 1 Day 2
Getting Started with Arduino & Soldering:
- Quick Surveys
- Continued Intro to Arduino
- Circuit 1, Circuit 2, Circuit 3, Circuit 4
- Lunch
- Soldering
- Intro to Project Design
Quick Surveys:
To get a sense of student experience and mindset going into the course:
(Please use your assigned email when filling out surveys: PccInventor#@gmail.com)
Intro to Arduino:
- Arduino Create: Setup your Account, Bookmark this page
-
Intro to Arduino Lecture Slides
- What is an Arduino? (Video)
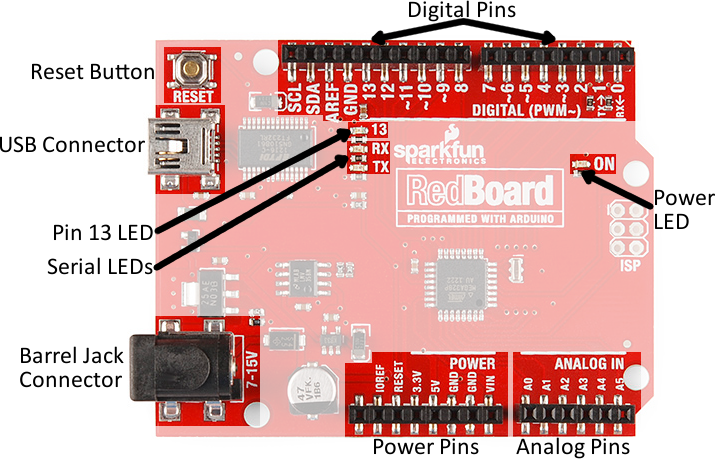
- Arduino Pin Layout: (Image from Sparkfun.com)
- What is Arduino? (Video 2)
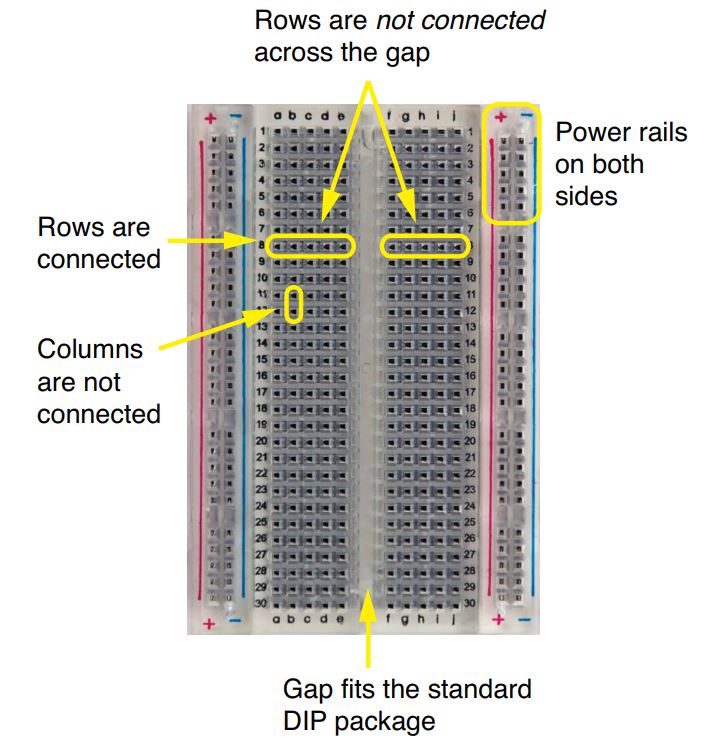
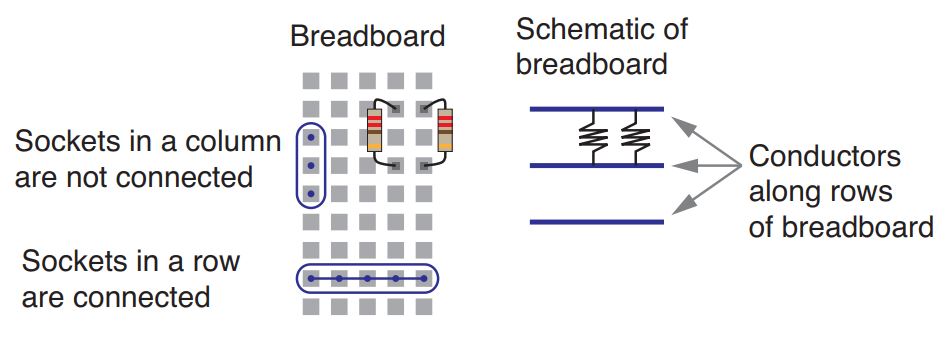
Breadboards
Current, Voltage, Resistance
How An Arduino sends signals and powers components. Basic Electrical Theory
Kit Overview: Elegoo Super Starter Kit
- Summary of Components
- Tinker Activity Guide : Bookmark this link; these activities will be used throughout the course.
Additional Reading/Viewing:
- CD Content: Programs, Libraries, DataSheets for Kit.
- What is an Arduino? (text)
- How to use a Breadboard (video)
Some Useful References (Will be available in the ‘Topics’ section):
- Arduino Code and Syntax Overview
- Arduino Reference Library : What does my code mean?
- How to Read Arduino Reference Library
Circuit 1: Blinking LED
Tinkerkit Blinking LED Tutorial

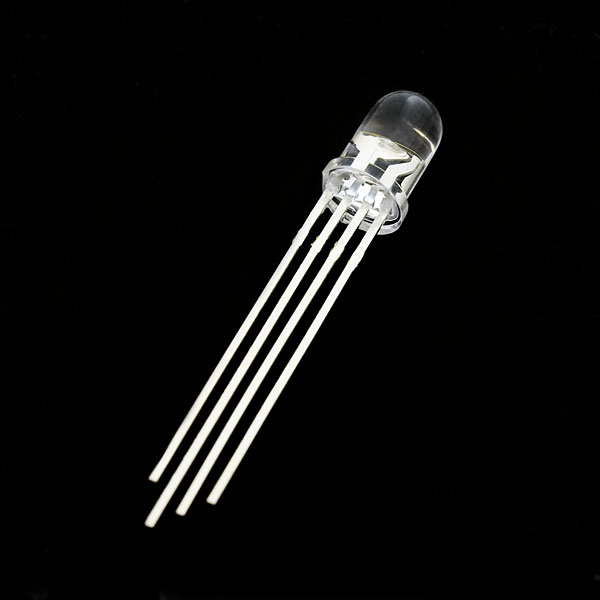
Already got your LED up and running? Try to run your RGB LED: InventorKit RGB LED Tutorial
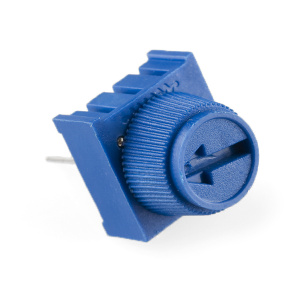
Circuit 2: Using a Potentiometer
A Potentiometer is a variable resistor knob that can be used to adjust voltage output - this can be used to manually control the power supplied to an LED, or can be used to send signals back to your program.
Tinkerkit Potentiometer Tutorial
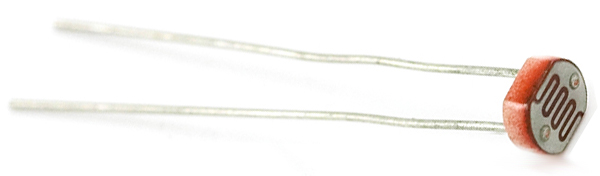
Circuit 3: Using a Photoresistor
A Photoresistor works similar to a potentiometer, but instead of being manually operated, its resistance is dependent upon how much light it is exposed to.
Tinkerkit Photoresistor Tutorial
Circuit 4: RGB Night Light
Use the circuits you have learned to make a functioning night light!
Tinkerkit RGB Nightlight Tutorial

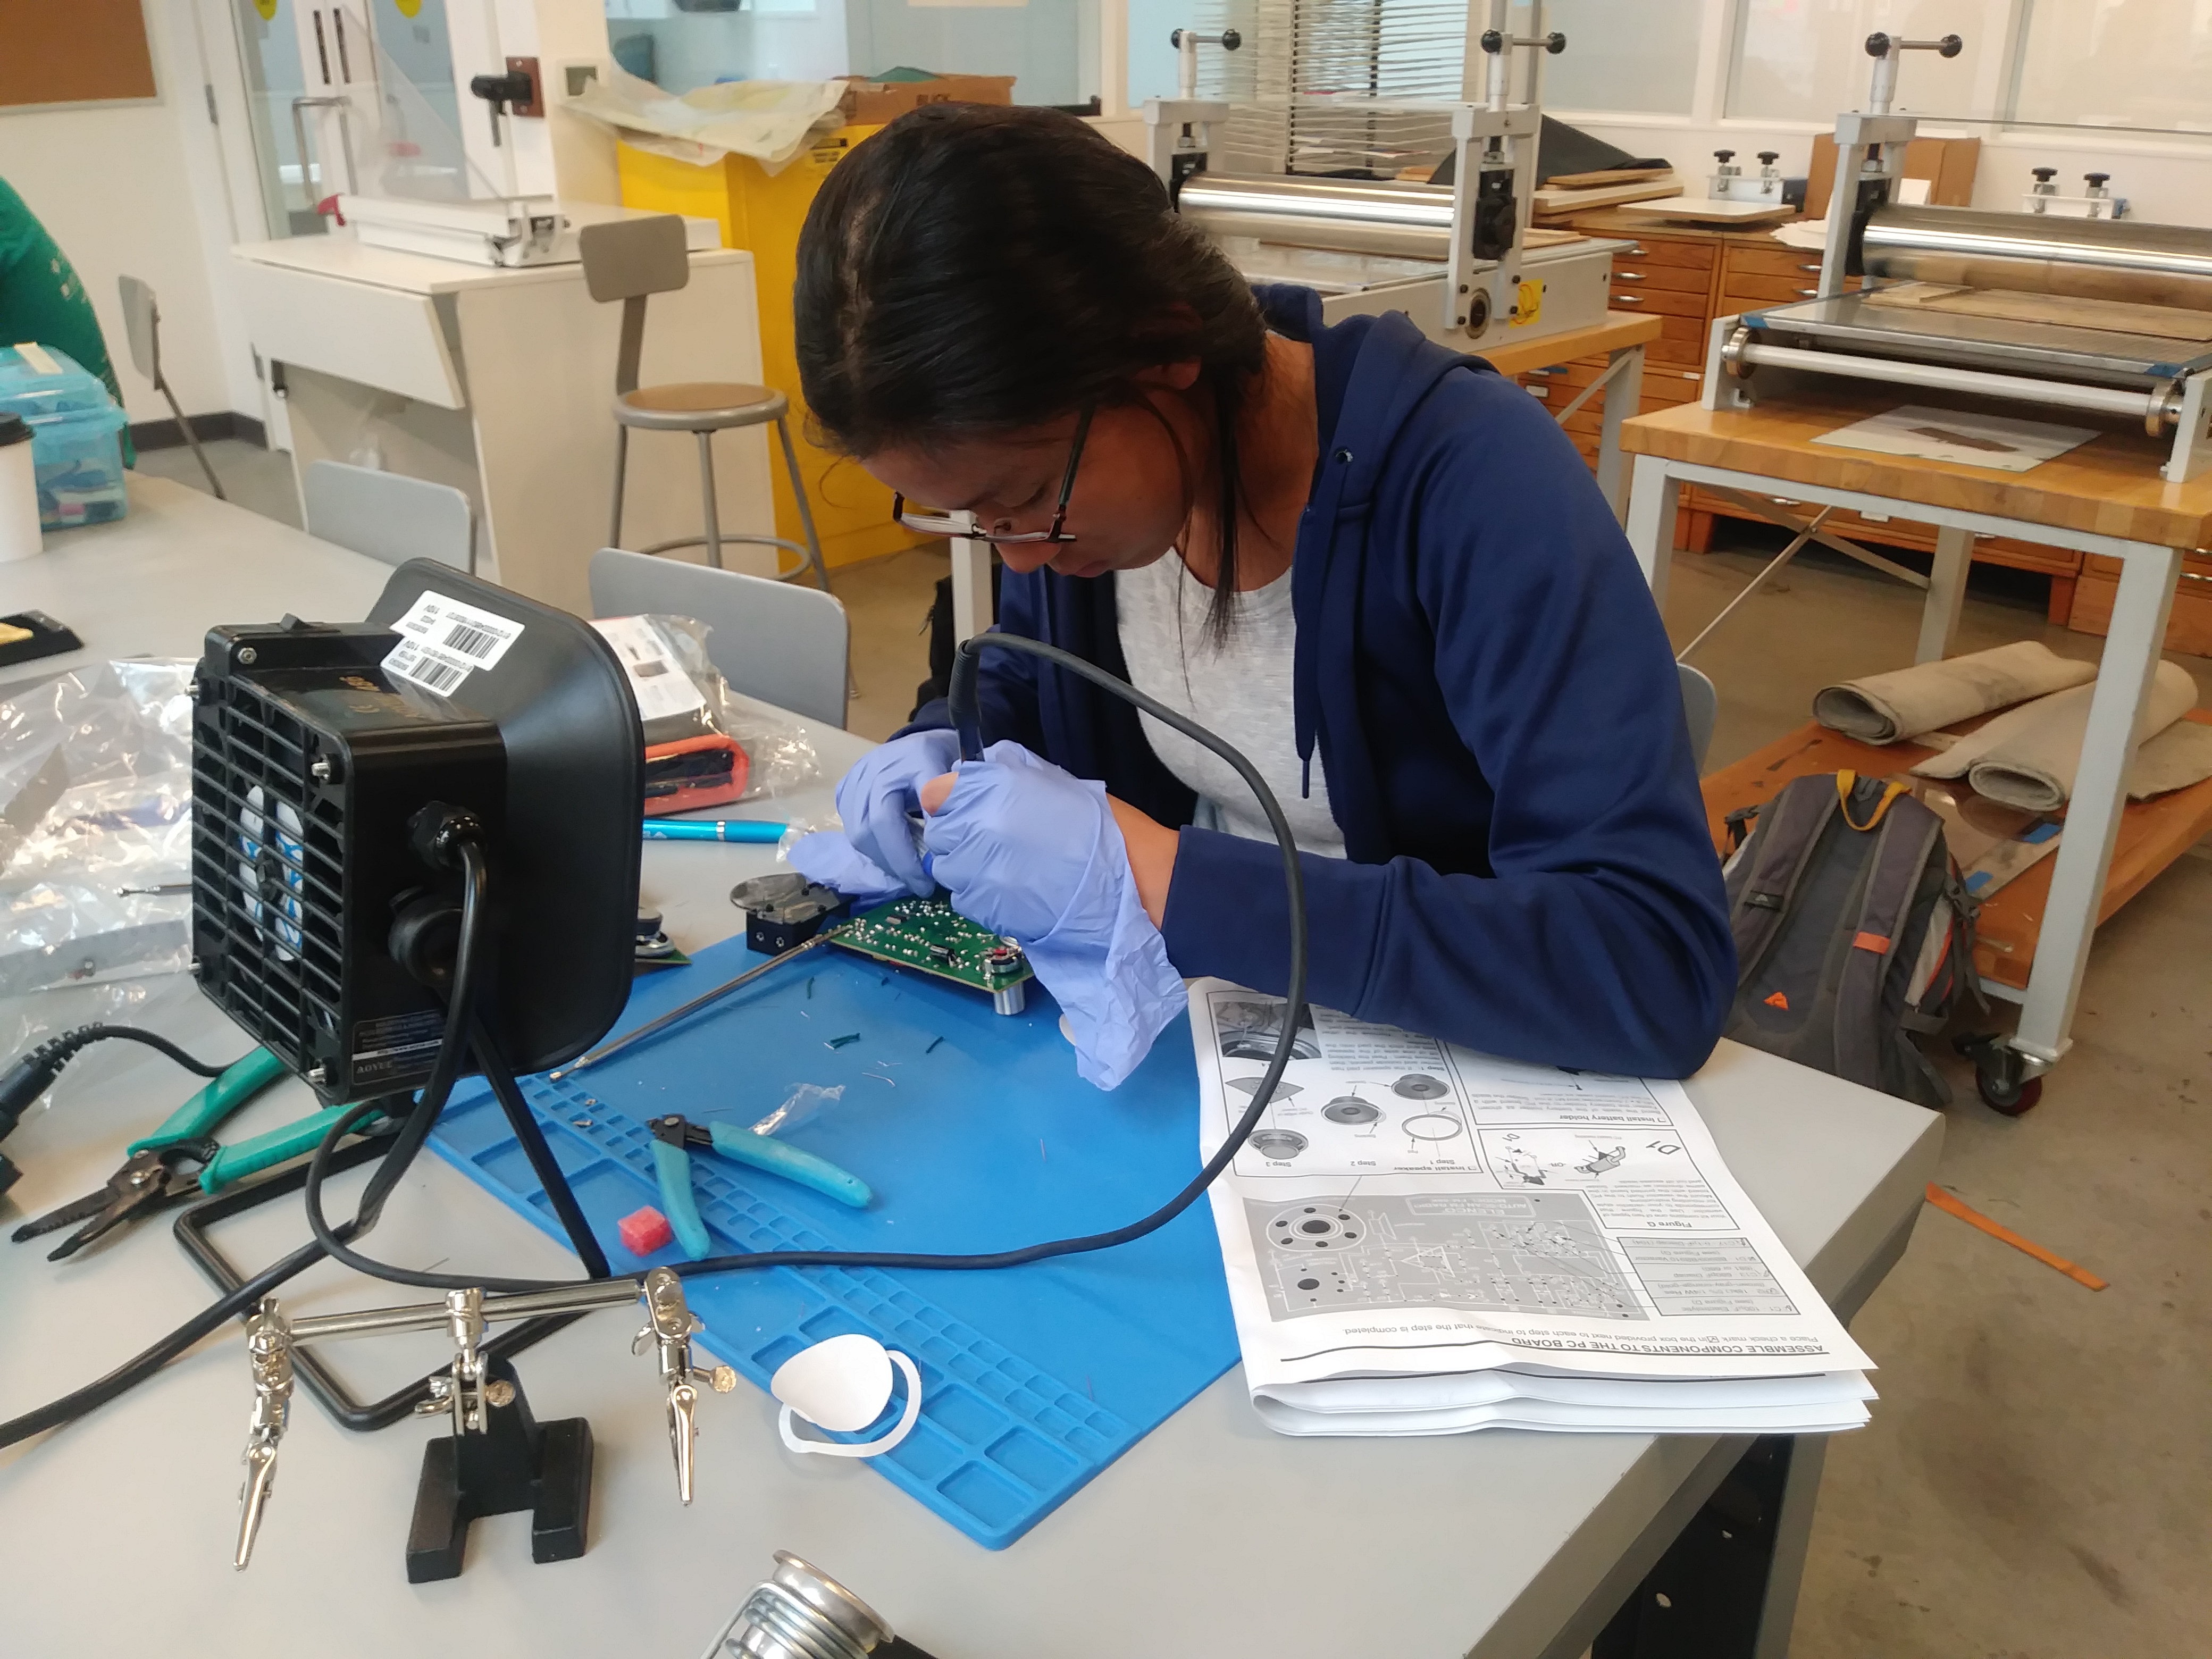
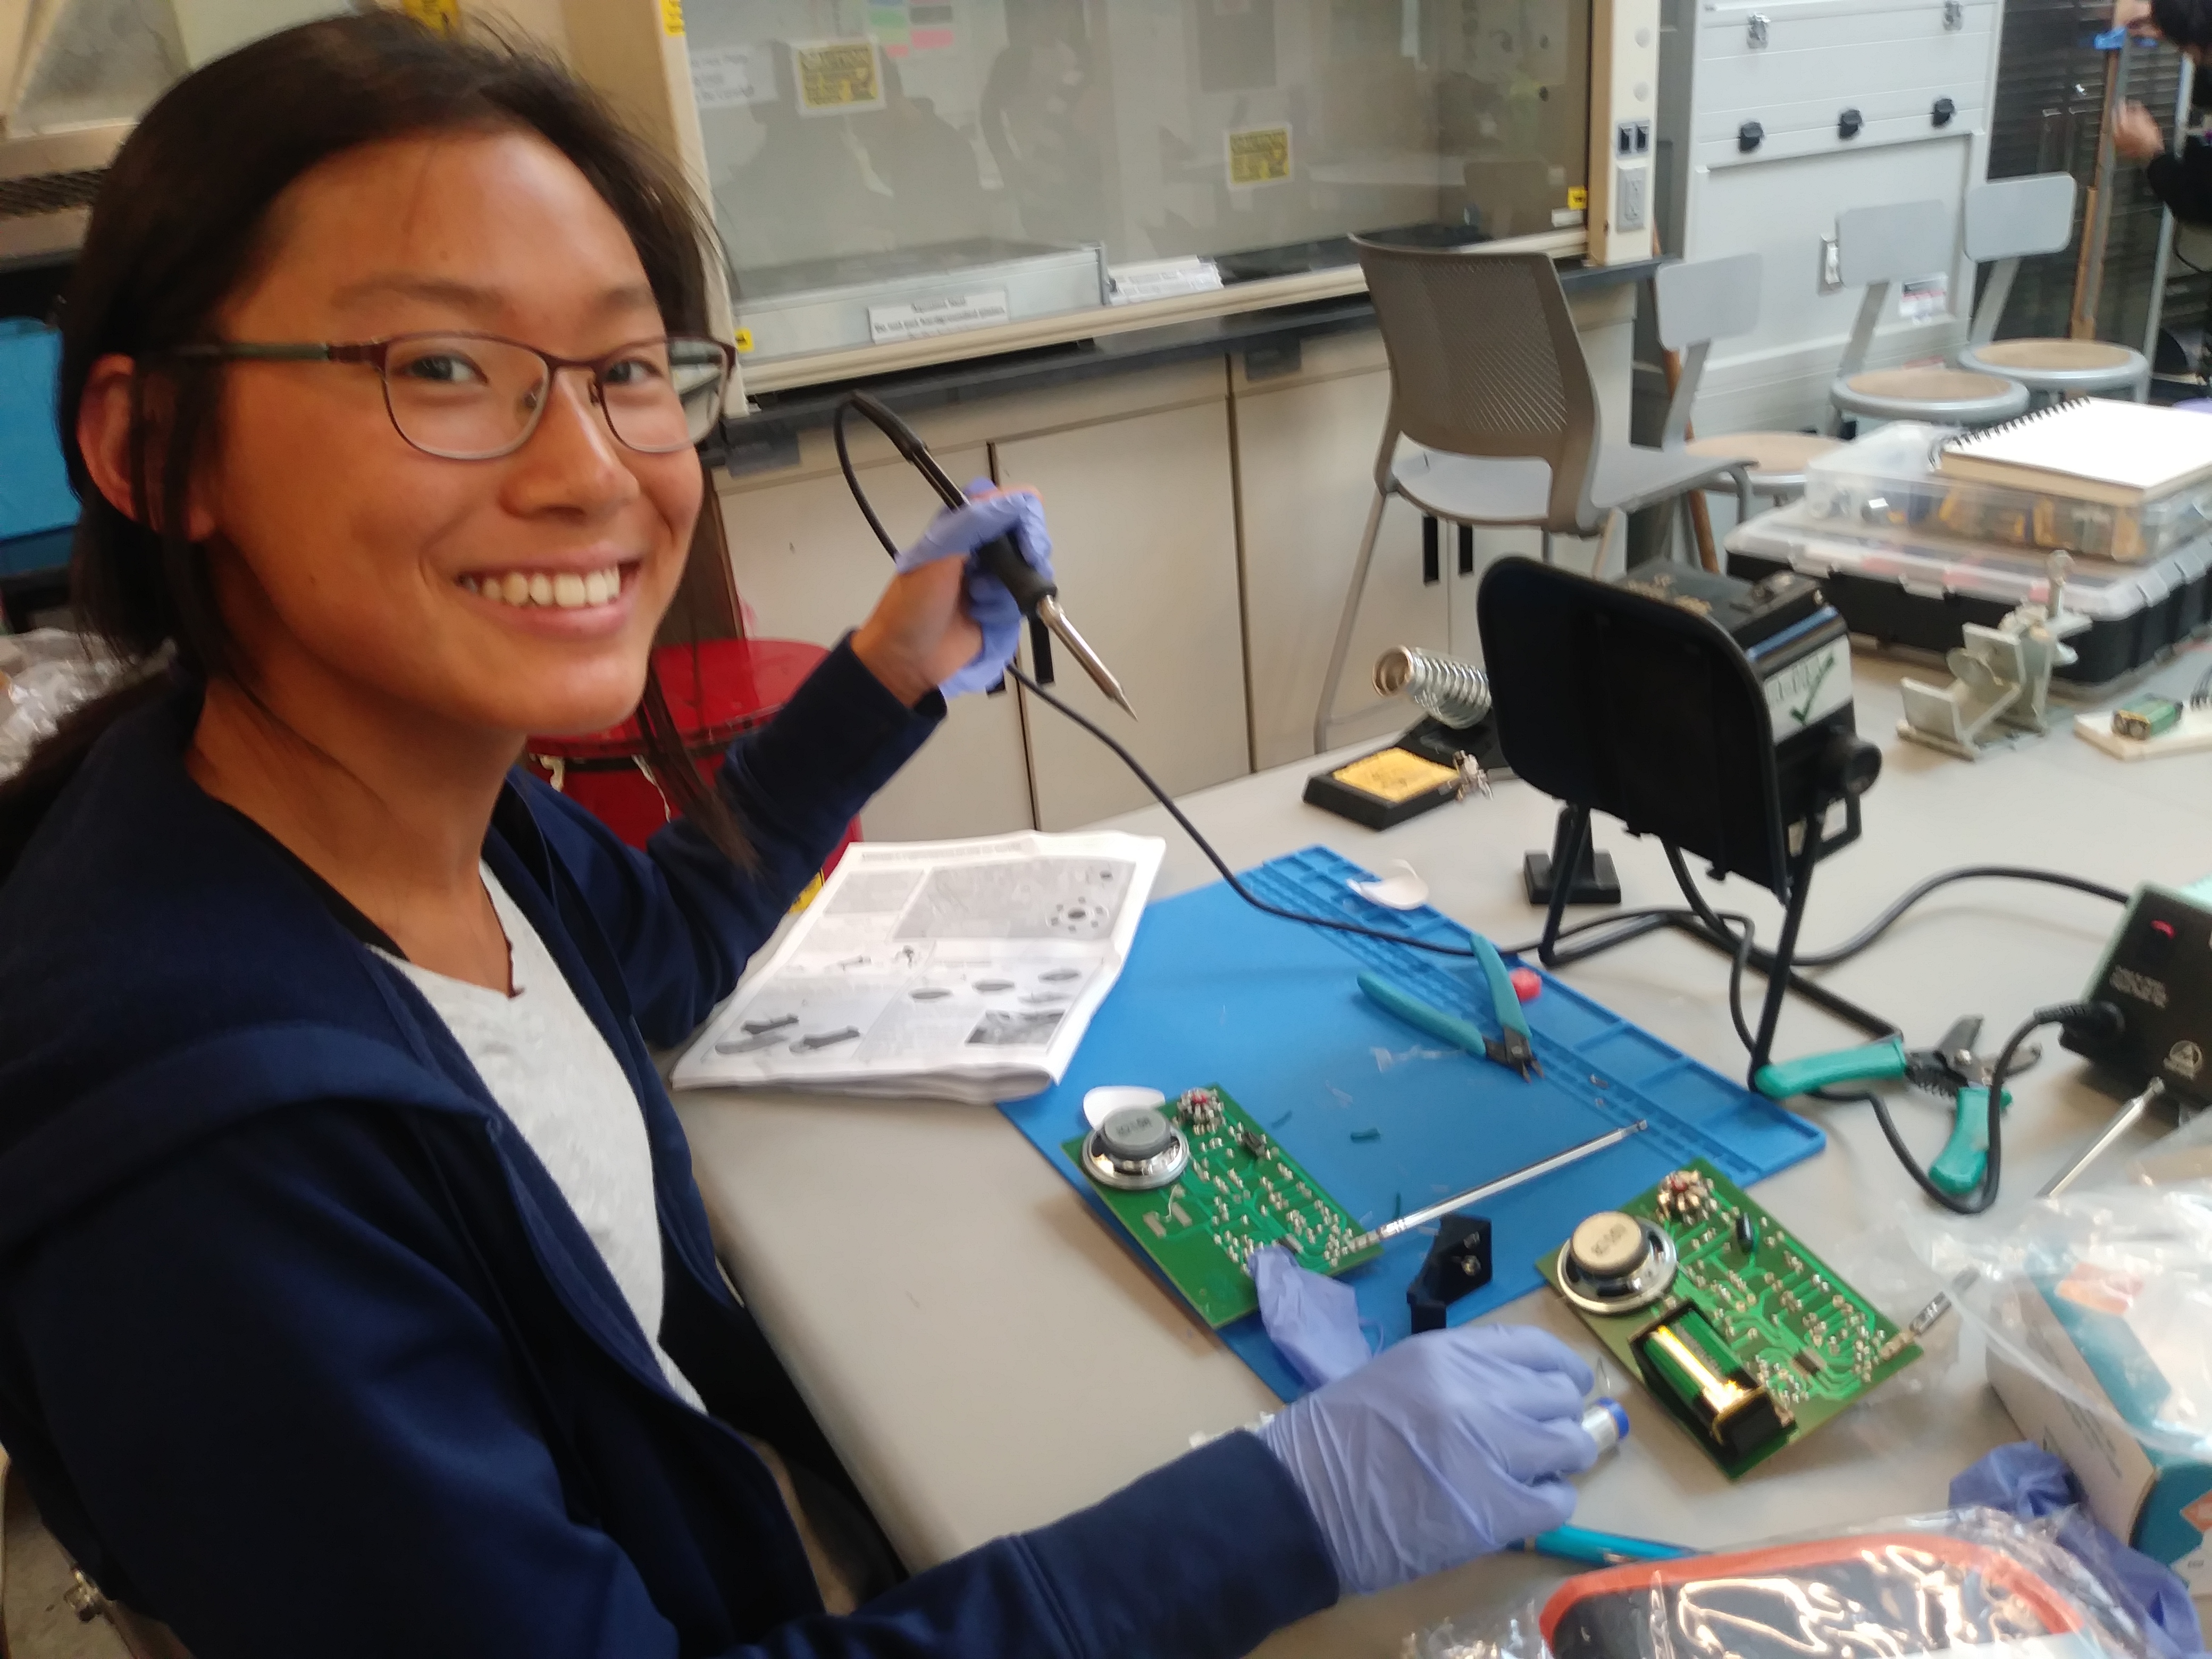
Intro to Soldering
Soldering is a method of joining electrical components together, like those you make on your bread board, but in a more permanent fashion.
Soldering Project
To gain experience soldering through-hole electronic components onto a circuit board, the students assembled an FM Radio from base components.

Soldering Guides
** Disclaimer ** Traditional soldering uses a tin/lead solder, which melts easily and makes strong connections, but is toxic to humans over repeated exposure. A less toxic, lead-free solder is now used in all consumer electronics in the US, however it is more difficult to use and requires a higher temperature soldering iron. In this class, we will primarily use leaded solder as it is the one that is easiest to learn with. If safety procedures are followed, risk of exposure is negligable. For students who wish, unleaded solder will be provided.
Soldering Safety:
- Wear Safety Glasses (to protect from solder splatter, wire clippings)
- Create a clear workspace (Make sure soldering Iron will not come into contact with nearby objects, make sure it has a holder for when not in use)
- Perform soldering in range of Fume Extractor (protects you against inhaling solder rosin fumes)
- Do not touch soldering end (A soldering iron can remain hot after being turned off)
- Wear Gloves during soldering or wash hands immediately after (gloves strongly recommended to discourage hand-to-mouth contact).
Soldering Best Practices:

Not working? Evaluate your Soldering:

Intro to Project
Step 1: Identifying Problems
Step 2: Design Process
